 If someone has a problem with activation of Windows server 2019 Standard Evaluation edition, maybe I can help someone with my post.
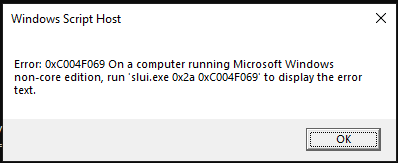
When I tried to activate the server, I received the error code 0xC004F069. Searching for this code on internet, I received many explanations like problems with KMS server, not accessible thru internet and so one. Of course, no one of this errors was the right error and I had to do my research.
The problem in this case is Evaluation edition and you have to solve this issue as first. To do this you have to change the scope of server using DISM command:
DISM /online /set-edition:serverstandard /productkey: N69G4-B89J2-4G8F4-WWYCC-J464C /accepteula – this key is GVLK Key!
This example is for Standard edition. Be aware that as product key you must use GVLK Keys!
If you need to know to which edition you can change, use the command
Dism /Online /Get-TargetEditions before you specify eddition in previous command
After this (you will see a progress bar with installation) you need to reboot the server. When the server will come back, you can activate it with your key:
Slmgr -ipk:YOUR-KEY
Slmgr -ato
Hope that I helped someone. Let me know.
Category: Windows
Reset local domain/Administrator password on Server (2016) 2019
In past I already wrote about resetting Administrator password in this post. That was perfect for Windows 10 (till 1903) and Servers 2012 and 2016. Probably Microsoft was not really satisfied that users were able to “recover” lost passwords in such an easy way (this is my opinion). It is OK if these steps are used to reset your lost password, but not if you use them to reset a password from a stolen computer.
I think that this is the reason that you cannot rename cmd.exe in other executables and run it before you log in – for example to change the password. It makes sense, it is perfect for me as it is more secure. But someone forgot something: it is not a requirement to open CMD to use NET USER command, you can do it from PowerShell as well – and it’s working also in Server 2019!
Here are the steps (they are very similar as previous steps):
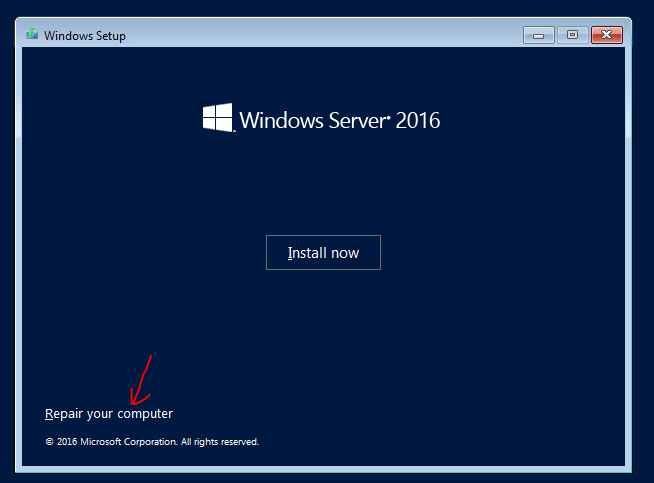
- Boot from DVD – you need to access to Windows system drive offline – installation DVD has all tools that you need.
- From menu select Repair your computer. This will give you the ability to change some files.
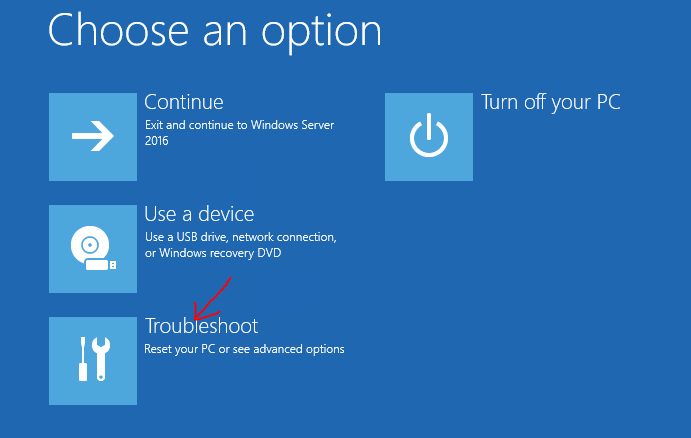
- In the next menu select Troubleshot.
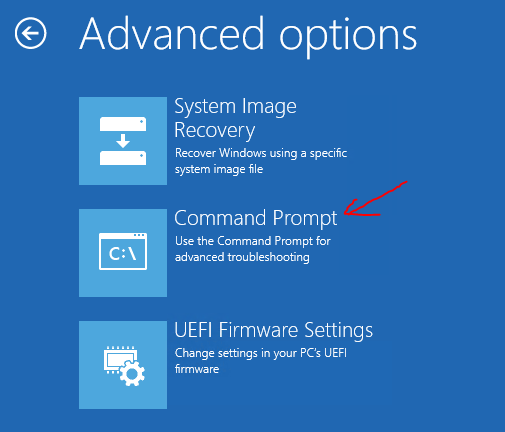
- Select Command prompt. This is what we need – we want to modify some files.
- Now you need to replace the file:
- Go to C: (supposing that C: is your system drive)
- Type cd \Windows\System32 – to enter into the folder
- Type ren osk.exe osk.old – be smart, you need to preserve the original file and put it back at the end of the process! If you don’t replace it again it means that you leave open a surface attack!!!
- Replace the file with a copy C:\Windows\System32\WindowsPowerShell\v1.0\powershell.exe osk.exe
- Reboot the server in normal mode.
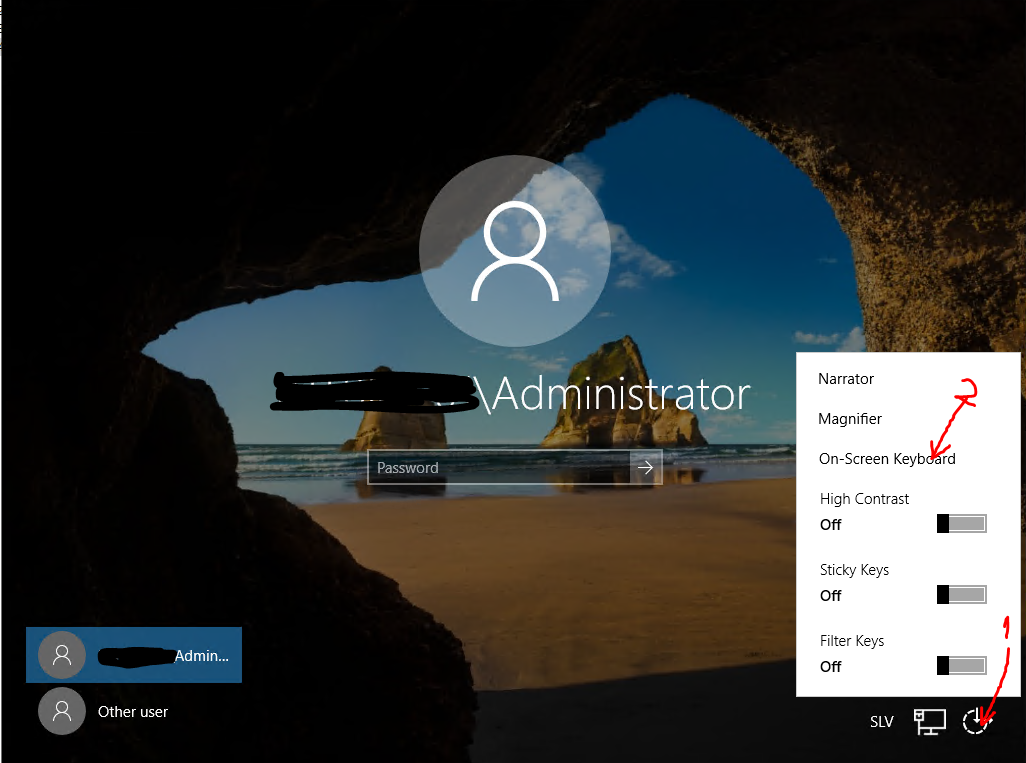
- From the logon screen choose Onscreen keyboard (as in picture).
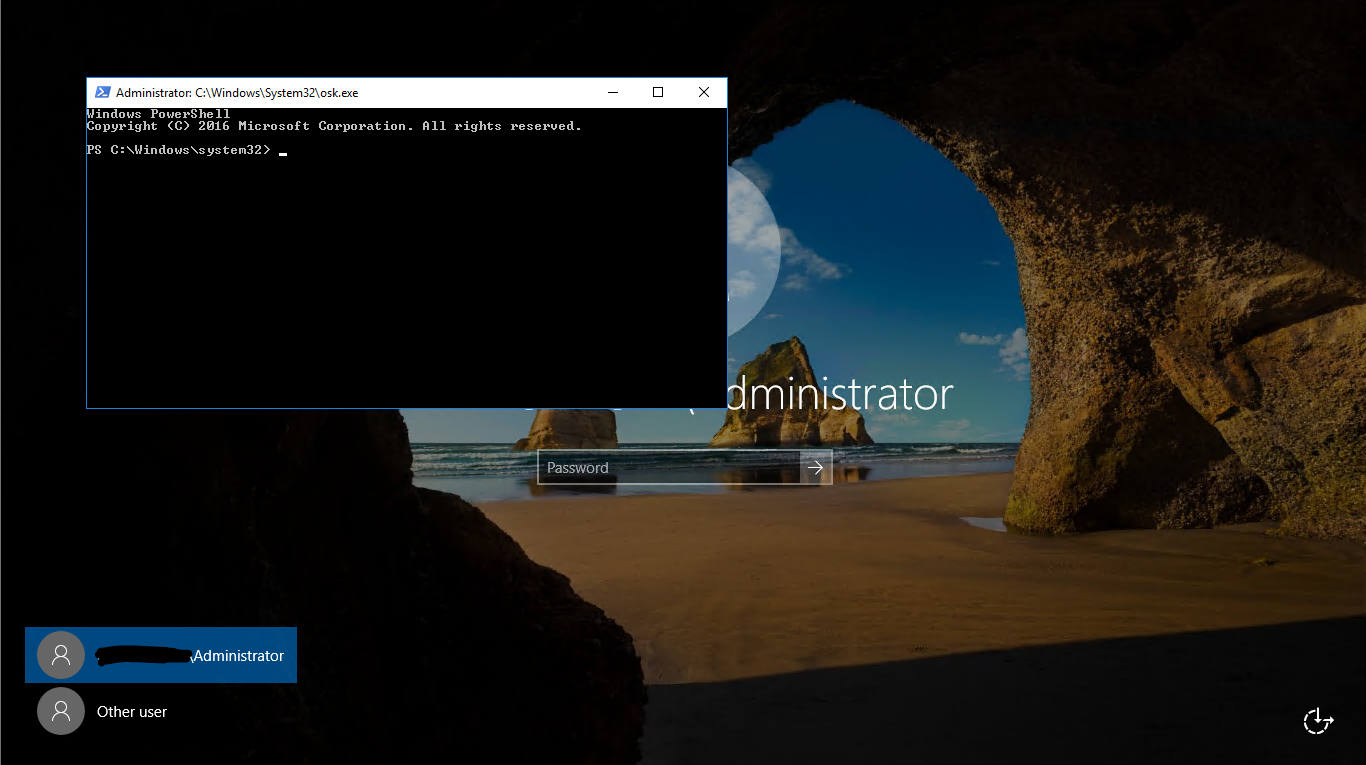
- PowerShell window will be opened – and you are a local system user!!! You can do a lot of things.
- Change the password with command Net user Administrator Password – where Administrator is the username of local or domain administrator and Password is the password that you want to set.
- Login to server with the new password – just to test that it is working.
- Reboot the server and redo all the steps from 1 to 5, but in the way to put back all things in the original state. You need to replace original onscreen keyboard:
- Go to C:
- Type cd \Windows\System32
- Type del osk.exe
- Replace a file with ren osk.old osk.exe
- Reboot the server.
That’s all. I recommend you to disconnect the server from the internet in the time you are doing these steps. In the same way you can access to the PowerShell window, it can be accessed by anyone who can see logon screen!
Windows 10 1809 related bugs
As system administrator I always prefer to be the first one who upgrades to new versions (if there are some bugs, I know them in advance). Of course, also in this update, there are some bugs…
In my upgrade, I found these problems:
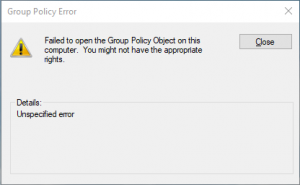
- Unable to edit Local Computer Policy: – this is not difficult to solve and will take just a second and a computer restart:
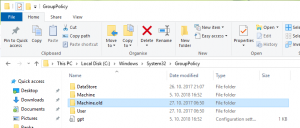
- Open Windows Explorer and go to the folder C:\Windows\System32\GroupPolicy (it is hiden; you have to type it)
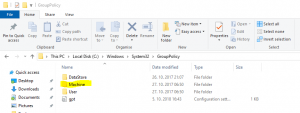
- There you will find a folder Machine. Rename it to something else (Machine.old for example)
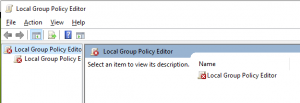
- Try to open Local Computer Policy again
- Restart the computer just to be sure that all policies are applied.
- Open Windows Explorer and go to the folder C:\Windows\System32\GroupPolicy (it is hiden; you have to type it)
- Microsoft Edge is not able to connect to almost any page (Cannot securely connect to this page). Here it can be more complicated and you should try more things. Let’s start in the right order:
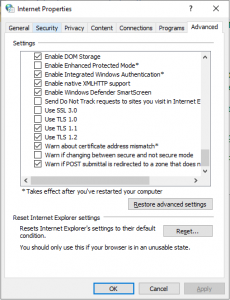
- Review if TLS 1.1 and TLS 1.2 are enabled:
- Open Control Panel and then Internet Options
- Go to the tab Advanced Settings
- In Setting window search for Security and check if TLS 1.1 and TLS 1.2 are enabled. I believe that everything is OK, because it worked before the upgrade; but just in case…
- Antivirus. Can be a course of the issue. Try to disable or better uninstall antivirus services (disabling is not always enough). Look also on the knowledge base of antivirus company. It was my case. If you have Sophos, here is an article about this issue.
- Check the network drivers and update them to the latest version (yes, in some cases this can be a source for the issue; Edge depends on this drivers)
- Disable, than reenable IPv6 and after this execute also ipconfig /renew.
- Change the setting in Local Computer Policy.
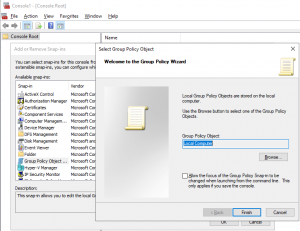
- Start mmc.exe as Administrator and add snap-in Group Policy Object Editor
- Select Local Computer
- Navigate to Computer Configuration > Administrative Templates > Windows Components > App Package Deployment
- Change the Allow deployment operations in special profiles to Enable.

- Reinstall Microsoft Edge:
- Open PowerShell as Administrator
- Run the following cmdlet: Get-AppXPackage -AllUsers | Foreach {Add-AppxPackage -DisableDevelopmentMode -Register ‘$($_.InstallLocation)\AppXManifest.xml’
- You may receive some errors during the installation, but don’t care about them.
- If nothing of this will works, Microsoft recommends reinstalling Windows.
- Review if TLS 1.1 and TLS 1.2 are enabled:
Hope that I helped someone on time. Tomorrow will be a patching date.
How to establish VPN before Windows login
In some cases, you need to establish VPN before you login to Windows. As some VPN clients offer this method (not all of them, of course), I had a requirement to create this option with Windows build in client.
Here I found a trick; If you want to create VPN connection thru Windows settings, it will not appear on logon screen and this is not useful for me. If you create VPN thru network and sharing centre it is different – VPN connection appears on logon screen. Makes sense? No, but if you need it, is good to know how to configure it.
So, here you can follow the step by step instructions:
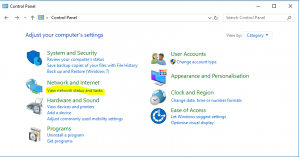
- Open Control Panel
- In Control Panel click View Network status and Tasks
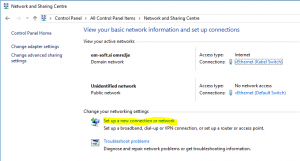
- In Network and Sharing Centre you will find a wizard to create a new VPN connection by clicking on Set up a new connection or network. It is almost the same as in other ways, but if you create VPN here, it will appear on the start screen. It is important, that you create VPN for all users!
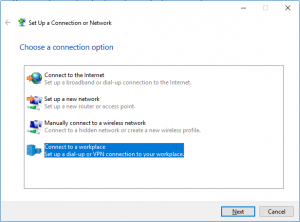
- On the Set up a Connection or Network wizard you have to choose Connect to workplace
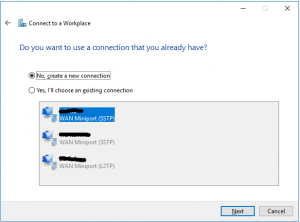
- On the next step you can use an existing VPN connection or create a new one. If you already have a VPN configured, you can just modify it. In my case I will create a new one (I prefer always to create a new connection). If I have an old configuration, I always delete it and recreate a connection from the scratch
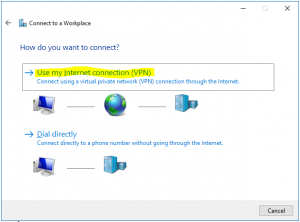
- On How do you want to connect, choose Use my Internet connection (VPN)
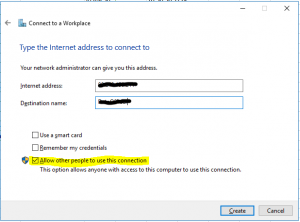
- Write the name or IP of the VPN endpoint, destination name and do not forget to check Allow other people to use this connection. Then click on Create
- If you want to do additional setting on this connection (specify protocol, add certificate …), you have to open the ncpa.cpl (Network Control panel) and from there you can review or change all settings you want
A connection done in this way will appear on logon screen and it is possible to establish VPN before you login in Windows.
Disable TLS 1.0 thru GPO
Lately I had a lot of problems with TLS 1.0 standards, which have changed. For a lot of secure applications you have to disable TLS 1.0, if you want the connection to work.
Well, set settings for any user it makes no sense and the only acceptable way it is thru GPO settings. There is no real setting for change-enabled protocol (you have to do it in Internet Explorer settings). The only way I found was changing the registry value of SecuredProtocol, located in HKEY_CURRENT_USER\Software\Microsoft\Windows\CurrentVersion\Internet Settings and HKEY_LOCAL_MACHINE\SOFTWARE\Microsoft\Windows\CurrentVersion\Internet Settings.
But here is only a numerical value and I had to find how is it calculated. I found some values in an article and from here you can calculate the desired value. The basic numbers are:
0 = Do not use secure protocols
2 = PCT 1.0
8 = SSL 2.0
32 = SSL 3.0
128 = TLS 1.0
512 = TLS 1.1
2048 = TLS 1.2
If you want to enable more protocols, just sum the desired numbers. For example, to enable TLS 1.1, TLS 1.2 and SSL 3.0 is 512 + 2048 + 32 = 2592. This is a decimal value for a registry key SecuredProtocol. Deploy a registry value true GPO and the setting is done.
